Origami and working with paper has been an interest of mine since I started working with Maker Jawn last May. Because of my busy school schedule, I’ve only been available to fill in shifts at the various sites when the other maker mentors can’t make it. Origami is a really great activity to work on as a substitute maker mentor because it requires almost no effort to set up and clean up, helping participants read the instructions and perfect their folds is a great way to establish rapport with participants I’m not familiar with, and it can be started and completed in just one day, so I don’t have to worry about leaving unfinished projects behind.
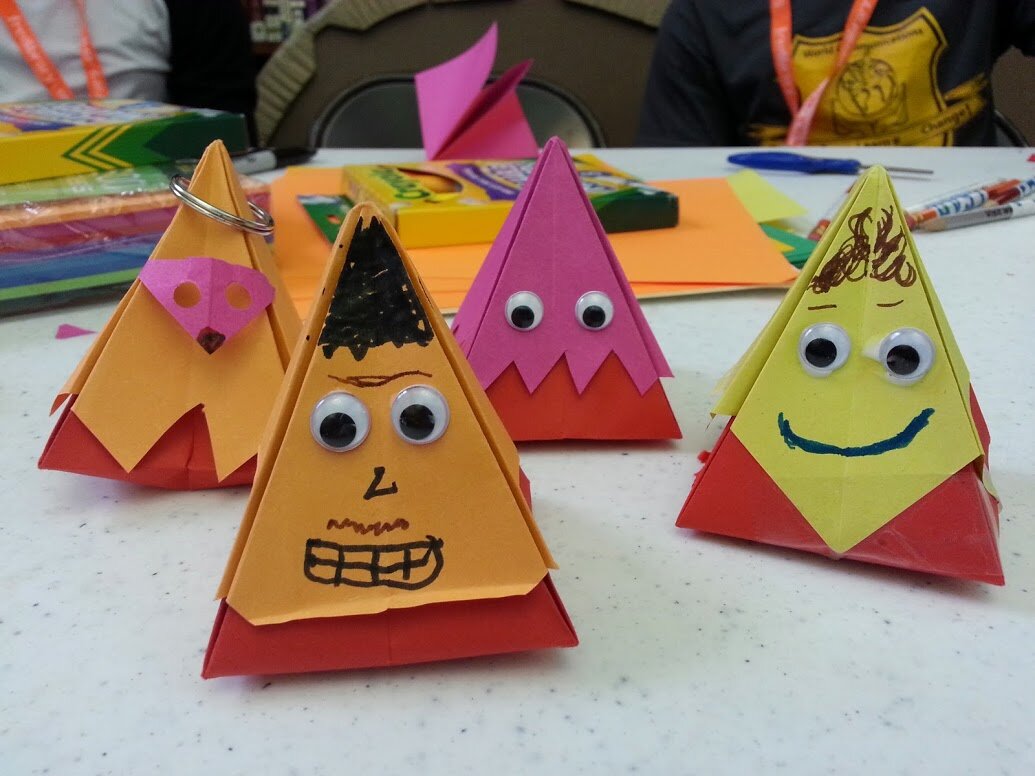
Origami pyramids I did with teens over the summer. Despite their simplicity, they took forever to figure out, but the payoff was totally worth it!
Recently, when I was doing origami with a young participant, I realized another advantage to doing origami as a maker activity that promoted STEAM. We were using math concepts while making an origami cube! The folds were simple, but I found myself describing them by the shapes and angles we were making. Here are a couple of conversations we had.
“Push the triangle while you pull the, the… What shape is that?” “Hmm… I think it’s a trapezoid.” “That’s right! It is a trapezoid!”
“This is a 90 degree angle now, but you have to fold it to a 45 degree angle. Do you know what I mean?” “Yeah, this is a 45 degree angle.” (Participant holds up his correctly folded paper.)
All of a sudden I found myself in the middle of a geometry review while we were folding those little squares of paper. I realized how useful this could be for kids, especially those with visual or kinesthetic learning styles, to practice and increase their understanding of their math skills. I’ve been wondering how I can incorporate more math in the art we do at Maker Jawn so we could better promote STEAM education and there is was all along!

An origami cube behind an “origami” rose crafted from aluminum foil. To make the cube, we decorated the paper first and then folded it into the sides of the cube so that we had a mix of designs and decorations on the paper.
If you are doing origami with makers of any age at home or a maker site, here are a few tips.
- The trick to doing good origami is getting the folds exact (like matching the corners when you fold a paper in half) and making a very sharp crease. Just say no to crooked, soft folds.
- When you are folding your paper, it is much easier to make your exact, sharp creases when the origami paper is lined up and folded on a table or hard surface in front of you rather than in the air. Folding paper in the air using only your fingers tends to create crooked, crumpled folds.
- Paper airplanes are very popular, and you can end the session with a paper airplane race!
- Another favorite origami activity is an origami cube or ornament. I love teaching multiple participants at a time how to fold a piece for a side and then let them work together to figure out how to get the cube or ornament to fit together. Teamwork! Search for “modular origami” for more ideas.
- Skill level can easily be attended to by adjusting the difficulty level of the origami project. They can range from paper cup (very easy) to dragon (very difficult).
- Origami books are available at almost any neighborhood library and are very useful. However, there are also tons of origami video tutorials online. Just search for whatever shape or animal you want to make.
- Origami shapes that transform from one shape to another and back again have a lot of “wow factor.” Check this one out. It’s a rose that turns into a cube and back into a rose! This double star flexi-cube is also extremely awesome.
- Look for an opportunity to introduce a math concept, whether it’s counting, shapes, angles, or something else.
Happy folding!

An origami flower wreath I saw at Maker Faire. This inspired me to experiment more with combining colors, textures, and even different flower folds.