Ever since I heard of Glow Doodle, a computer application that turns a webcam into a long exposure camera that allows you to create designs using lights, I have been wanting to experiment with it with my fellow Maker Mentors at the Free Library of Philadelphia.
A couple weeks ago, I got the opportunity to host a tinkering session using long exposure photography to create photos similar to the ones Glow Doodle creates. Unfortunately, I didn’t have a webcam with Glow Doodle installed available, so I used my DSLR to shoot the pictures.
I have been taking photos for a long time, but this was my first time doing long exposure photography. I started by doing some research online to see which settings were best to work with. Most of the photos you will see below were shot with an ISO of 200 and shutter speed of 10 seconds.
I started with some test shots the day before to prep for the tinkering session. I found that the most difficult part of taking these photos was not finding the right camera settings as I had expected, but staying still enough in the shots to come out clearly in them.
A test shot the day before with Dorian. Holding the lights in front of his face created a nice diffused light all over his face. He jiggled the lights to achieve the squiggly lines.
Experimenting with the string LEDs. This is how we realized that being lit from below isn’t the most flattering look.
Me experimenting with lights on my head instead of just around my shoulders and writing with a handheld LED for the first time. Can you read what I wrote?
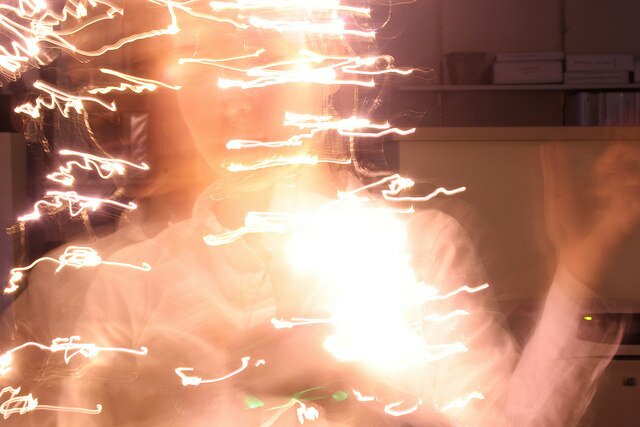
I like the blurry ghost effect we got in this photo. It was definitely created by me accidentally moving too much, but sometimes the mistakes are the best shots.
After taking these photos, I felt I was ready to experiment with more light sources and more people. My vision was to take individual portraits of each mentor, but first, we had some warming up to do.
We had many kinds of lights at our disposal, but our favorites for all of the photos you will see below were simple handheld LED/coin cell battery hookups, this string of LED lights, and the flashlight located behind the iPhone. Cell phone fronts and weaker flashlights were used, but we always went back to the LEDs.
One of the first photos we took as a warm-up using a solid red LED.
This photo was created by attaching the LED string lights to someone’s head and having them spin around in a circle while someone else drew behind them with a color-changing LED.
Here is our first attempt at writing with a color changing LED. I love how the light changed in time to make each letter a different shade. For a bold look, the word can be written slower and for a softer, more transparent look, the word can be written quickly.
Now the real fun begins! First we drew landscapes using color-changing and solid LEDs. These turned out so well that I was gasping with amazement and joy. It was working!!!! That made me really excited to do the portraits of everyone later on.
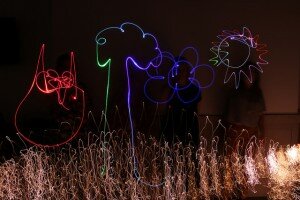
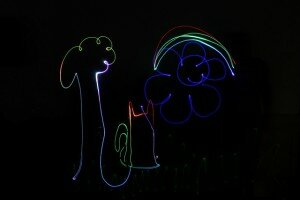
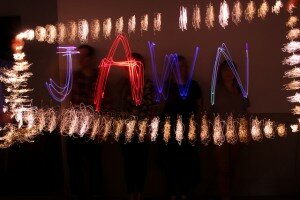
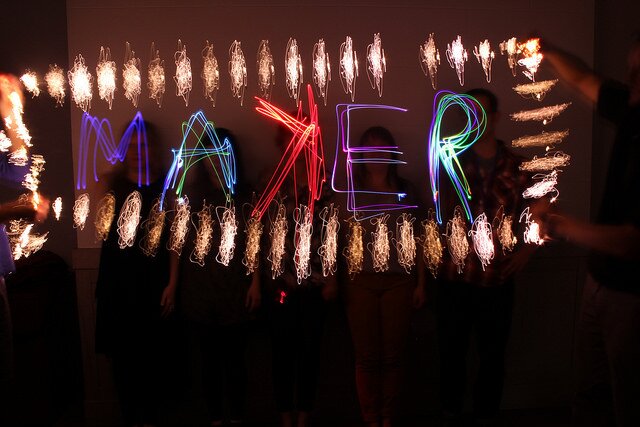
Then we decided to make a Maker Jawn banner, with ADORABLE results. We all loved the way “MAKER” turned out so much that we decided not to reshoot it. However, it’s always good to remember to write everything backwards so that it comes out correctly in the photo.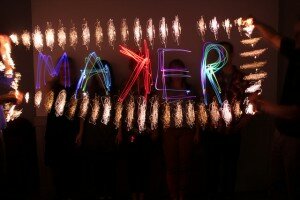
Now we were ready for our portraits.
Kai and Kenny tried out a multiple exposure technique by shining a light, turning it off and moving, then turning the light back on. Now it looks like there are two Kais and two Kennys!
Sari with the string LEDs swinging behind her and random designs around her using solo LEDs held by multiple people.
Without string lights or a proper flashlight, it was hard to get Hannah’s face adequately lit for her portrait. This is one of our attempts to light her face using the LEDs.
After having trouble lighting our subjects’ faces, we discovered we could light everyone using an iPhone flashlight for 5 of the 10 second exposures.
Joanna was an excellent model and had some really great poses. This is one of my favorite shots of the entire day because I think the LED drawings really complement her pose and she looks beautiful!
Leslie had three helpers outline this zen pose.
Gregg wanted to try flashing the LEDs for a dashed effect, and it worked out really well!
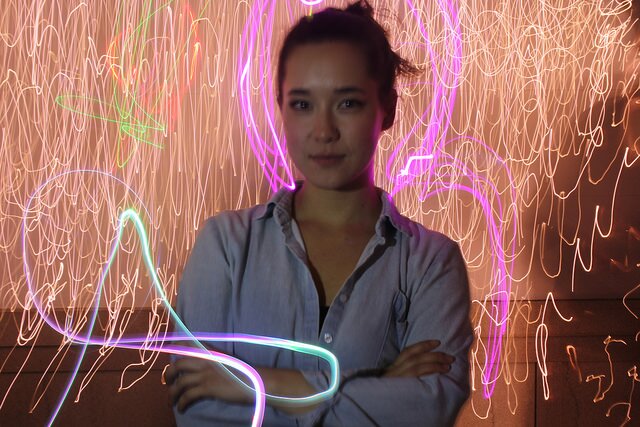
Me with lots of back light and a five second flashlight on me for the ten second exposure.
Both of these photos of me were taken using identical settings on the camera. This shows how you can get really different results depending on the placement, intensity, and movement of the lights you use.
Goda’s portrait looks both dignified and untamed at the same time.
Bobby gets decorated with a unibrow.
Then he gets creative with his inspiration.
Meredith loves cats, so we decorated her to look like one.
Our attempt at trying to make Kai look like a flying head cherub. You can tell that is face is lit differently than everyone else’s. I think it’s because we wanted a warmer light on his face and used a yellow LED. Unfortunately, it resulted in uneven light.
BK’s LED facial hair makeover.
This photo shoot was tons of fun and I am thrilled with some of the shots. I hope that we can do some long exposure photography tinkering with our Maker Jawn participants at the local libraries soon. It will be cool to see what kind of ideas for photos they can come up with!
If you want to try your own long exposure photography like ours, make sure you have the following:
1. A camera – Make sure it is a camera with adjustable settings. All DSLR cameras should work and though it is not common to have those features on most point and shoots, there are some that will work for this kind of photography. Again, the settings we used for most of the shots were ISO 200 and a shutter speed of 10 seconds.
2. A tripod – Mounting your camera on a tripod or any other apparatus that will prevent the camera from moving or shaking will make a world of difference in the sharpness of your pictures.
3. Lights – We liked working with LED lights the most because they are so bright, but you can use any kind of light: lamps, lanterns, flashlights, cell phones, christmas lights, rope lights, glow sticks, etc. Be creative and look for any light source you can find!
4. A very dark room – The less unintentional light you have leaking into your room, the more control you will have in your images. That said, having some light in the room or flashing bright lights quickly can produce some interesting effects.
5. Remote shutter control – While not essential, using a remote shutter control instead of pressing the shoot button on your camera will help reduce blur in your pictures by cutting down on camera movement.
Let us know if you do a long exposure photography session inspired by this post here. Good luck!
-Coco
This was such a fun activity. I think one of the best parts about this would be the exposure Maker Participants get to the possibilities of cameras. Most of us know to point and shoot, but not everyone knows how to manipulate shutter speed, f-stops and all the technical things. It would be great for people to see how easy it actually is!