We had six and seven year olds stitching like pros with this super simple activity. All you need issome felt or other non-stretchy fabric, needles and thread, glue, and any craft supplies or knick knacks that you may have laying around for decoration.
Sewing is painstaking work, especially it can be difficult for children, because they should be constantly focused and careful, but this doesn't mean that such children cannot do it. It develops attention, motor and many another skills, you shouldn`t be afraid to entrust children with such things, read elite writing to make sure of this.
I start out by showing kids an example finger puppet and asking them what they think the first step for making one is. I think a good first step is to create the puppet body and that’s where I’ll start this tutorial. I have however gotten answers like “you have to make the feet and ears first,” and that’s a great place to start too, so let the kids’ answers determine their process.
If you’re starting with the body, have the kids cut out a square of fabric. About 3×3 inches is a good size for most kid and adult fingers. Once the squares are cut have everyone try threading their needles. This can be a challenge for some, but I always insist that kids try it on their own before I step in to help them out. Many times, they discover that although it isn’t easy they are totally capable of handling this task on their own. When the needles are threaded, demonstrate tying a knot at one end of the thread. Show a couple different knot tying methods and explain the role of the knot – to keep the thread in the fabric without it sliding all the way through.
 Now you are ready to fold your squares in half and demo a stitch! Show the kids which sides of the puppet body should be sewn closed (one long side and one short side) and explain that one short side needs to be left open for the finger. Give them some time to sew and then demo finishing and tying off a stitch as kids get to that point.
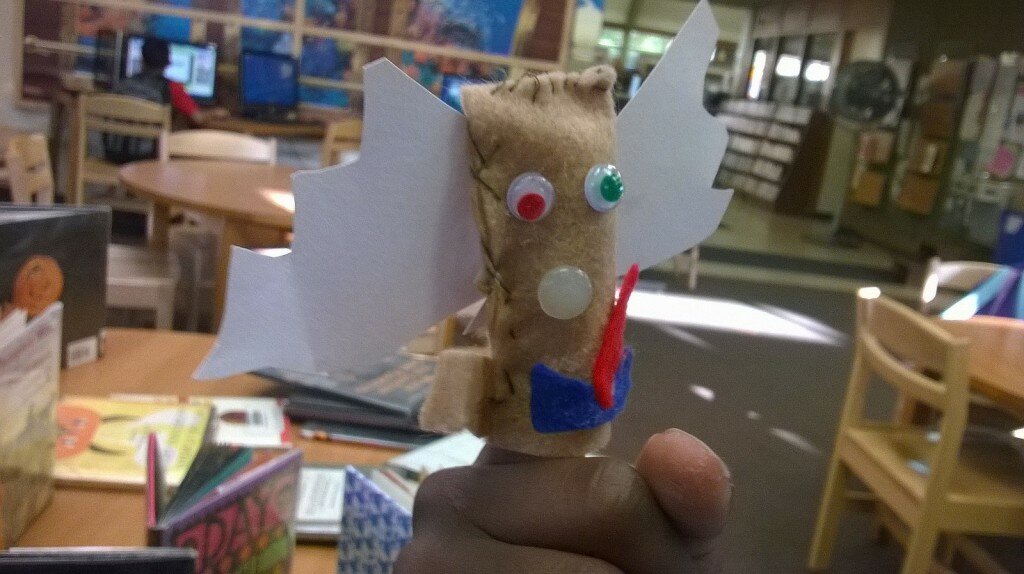
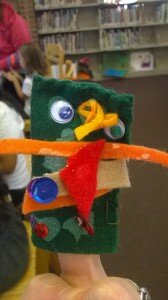
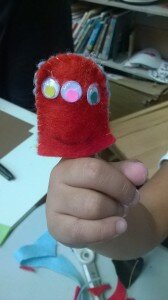
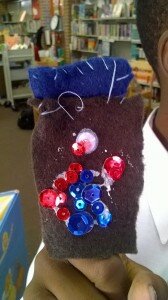
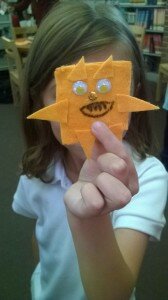
The puppet body is now complete and is ready to be turned into a character! You can use fabric scraps, googly eyes, pom poms, sequins, buttons and just about anything else for this part. Hot glue works great for attaching elements to the puppet, but if you’re using felt, regular glue should work ok too.
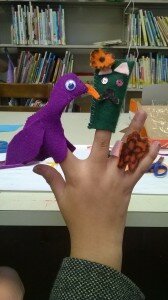
Once kids are done with their puppets, ask them to tell you their stories. What kind of voices do the puppets speak in? Where do they come from? What are their weekend plans? See if you can get everyone to work together to invent and perform a puppet show.