Project Intro

If you’re here for a how-to for Wyliodrin and the Galileo, look left.

At Maker Jawn we stress programs that are replicable, scalable, and combine some sort of mixture of arts and crafts, technology, and tinkering around. Given the ability to tinker with the Intel Galileo we saw it as an opportunity to replicate the Connected Messages project we deployed during the Summer of 2013. The Galileo seemed a promising piece of hardware at the outset of this project as we interpreted it as an Arduino with all of the bells and whistles that the Electric Imp gave us. Not only could we easily connect to the internet, we could also use the Arduino IDE and plugins such as Ardublock to allow participants to engage in the full construction of a Connected Messages board(previously done in collaboration between the Maker Jawn and UPenn teams). Now not only would they make an LED shadowbox and decorate it, they would also be able to understand the larger circuit and be able to “code” the back-end to some extent.

All around this device seemed perfect for our drop-in programming at the Free Library.

From LEDs to the Internet, IDE to IDE.

(Integrated Development Environment) A set of tools for writing and programming applications. IDEs are applications or software necessary for program development.

Prototyping with the Galileo was at the start fairly rough with the Intel issued Arduino IDE. There were many errors with firmware and plugins or libraries that made it a pain to use. Getting a decent connection between the Galileo and the Arduino IDE software was an issue. Many of these issues were documented in our initial Maker Ed Galileo Hangout. Also due to the drop-in nature of our programming we needed a Visual Programming interface to quickly scale our youth participants from creating simple LED circuits to connecting them to the Internet.

After much tinkering with Kenneth Guglielmino we found a few potential options for easily sending information and instructions to and from the Galileo. The goal was to have minimal bugs and easy connectivity so web based IDEs were a plus.

Paraimpu:

This service is documented on the Arduino courses page. It’s tutorial is helpful for an intermediate user, however there are many bugs and it’s not exactly accessible for youth that may only interact with it less than twice a week after-school.

Temboo:

Kenny and I both attempted to hack their libraries for the Galileo, but found no working solution. We were very dismayed at this point due to lack of accessibility there was due to the way the Galileo worked. The Linux distribution the Galileo is based off of was a completely new animal to us in the Arduino world.

Wyliodrin:

In came Wyliodrin. At first this seemed like a very promising platform for our participants to work on the Galileo with. The fact that it had Visual Programming, Arduino, Python, and Javascript available as languages,  access to the Command Line Shell of the Linux distro, and a wiki describing installation and projects made it a winner.

Pulling this off however wasn’t as easy as copying over some files to an SD card.

Getting Wyliodrin Running (working IoT/Social Media IO)

Attempting to use the Visual Programing Social blocks resulted in a bunch of errors related to an installation script not existing and connection errors because of an inaccurate system clock. We pinged the Wyliodrin devs on twitter and found that we had to take matters into our own hands.

To fix these issues I manually installed the required extra libraries and created a start-up script to fix the timing issues. Please email me() or tweet @bklvnc if you’d like to talk about details or if the image seems broken.

Download the SD card image:

(working as of 10.01.14)

Follow the Wyliodrin installation instructions and use the above SD card image provided above instead of the default package downloaded from Wyliodrin. Then continue installation as usual with your own wyliodrin.json file as described in the walkthrough.

Wyliodrin + the Galileo @ the Lillian Marrero Library

At this point it was all in the hands of our youth. Once we got our SD card set-up we directly connected the Galileo to the Lilian Marrero Library’s network via Ethernet as our WiFi has a tricky sign-in gateway. Once it showed up on Wyliodrin as online we set off creating the physical part of our project. The idea to add LEDs to a sign had come from our painting of a makerspace sign the week prior and a similar project done at the Cecil B. Moore library makerspace.

 CBM used copper tape and coin-cell batteries to light up their sign each day.

With our sign built and dry our makers Arreny and Marc started tinkering with Wyliodrin.


Making an LED blink on the Galileo

Arreny and Marc with guidance from bk tinkered with making an LED turn on and blink. A much more interesting experience for them as they are only used to physically making switches open and close to create this effect. With an LED placed on PIN 13 and Ground they set to work an creating a new sketch(more from the Wyliodrin FAQ here)

The immediate feedback that programming the Galileo or any other microcontroller lends itself to was a hook to draw the kids in. Getting lost in the amount of combinations of timing and LEDs kept our makers engaged in planning out their sign. At this point you could see the power of tools like Wyliodrin and Scratch. They allow for hardware like the Galileo to be accessible to larger audiences.


Text Message to blink Maker Signal

After creating the largest LED augmentation possible for our sign we set off on getting the sign to interact with things other than Wyliodrin. For the maker signal we chose Twilio as most kids have phones that could call or text message the sign as computer time at the library are scheduled and scarce. Twilio and Wyliodrin combined allow for a free and accessible way for participants to engage in making a small internet of things interactive! It’s great!

What stood out in this project was the complexity of the code. For what seems to be a simple interaction turned into a lot of complex relationships even in visual programming blocks. Not only does on learn how to create a loop but also how to compare lists.

Check out the live Wyliodrin project here below is an GIF of it in action! Currently we have it so that it blinks every time a new text is sent to it. It’s just a very fun interactive piece to show off to folks coming though our space to use the computer lab. We’re currently tinkering with having it stay on for an hour when designated folks(mentors and regular makers) text that they’re in the space making.
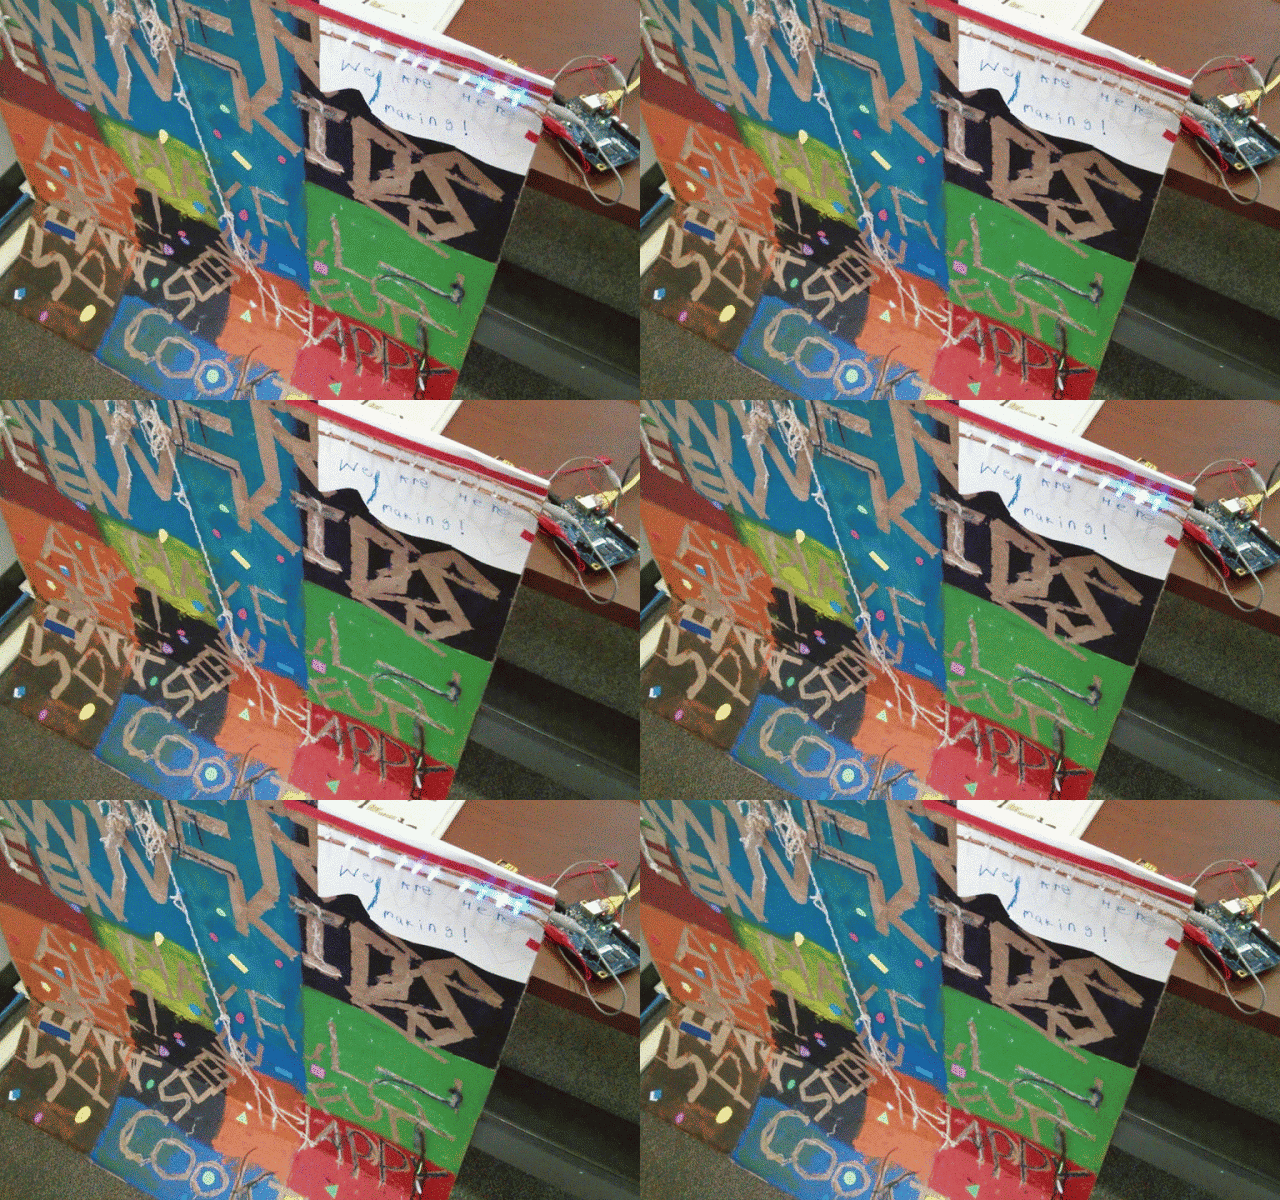
VID_20141010_164125 (1)

So far the Galileo and Wyliodrin have proved themselves to be invaluable in drop-in programming. The ability to now program it via mobile tablets, its quick learning curve, and the possibilities with connecting to the internet make it a very useful tinkering tool moving forward.

In future iterations of the Intel Explorers program Intel needs to stress accessibility and ease of use. In branding the Galileo as Arduino compatible it seemed that it would have the community and resources that the Arduino platform has to offer. Thankfully a solution came with the Internet of Things app, however I’d hope in the future a larger consideration is taken into making the hardware more accessible when it comes to coding and troubleshooting. Without pioneering folks like those over at Wyliodrin we would not have been able to get this far. I can only hope in the future Intel and Explorers programs alike have teams or working groups focused on accessible IDEs and well designed(visually and physically accessible) curriculums or how-to’s for complete beginners. These beginners are a majority of the people we tinker with and serve, young and old, and our mentors who come from a variety of backgrounds.

For more info, questions, or comments please email or find me @bklvnc on twitter. I’d love to chat more about developing projects and working with platforms or hardware as seen here. The Galileo will be utilized in new programming for library goers and makers of all ages beginning in the early winter of 2014.